
Tips & Tricks
How to Take Better Travel Photos: 7 Practical Tips Beyond the Selfie (2026)
Learn 7 practical travel photography tips to capture moments that feel authentic. Master lighting, composition, and storytelling whether you’re using a smartphone or came

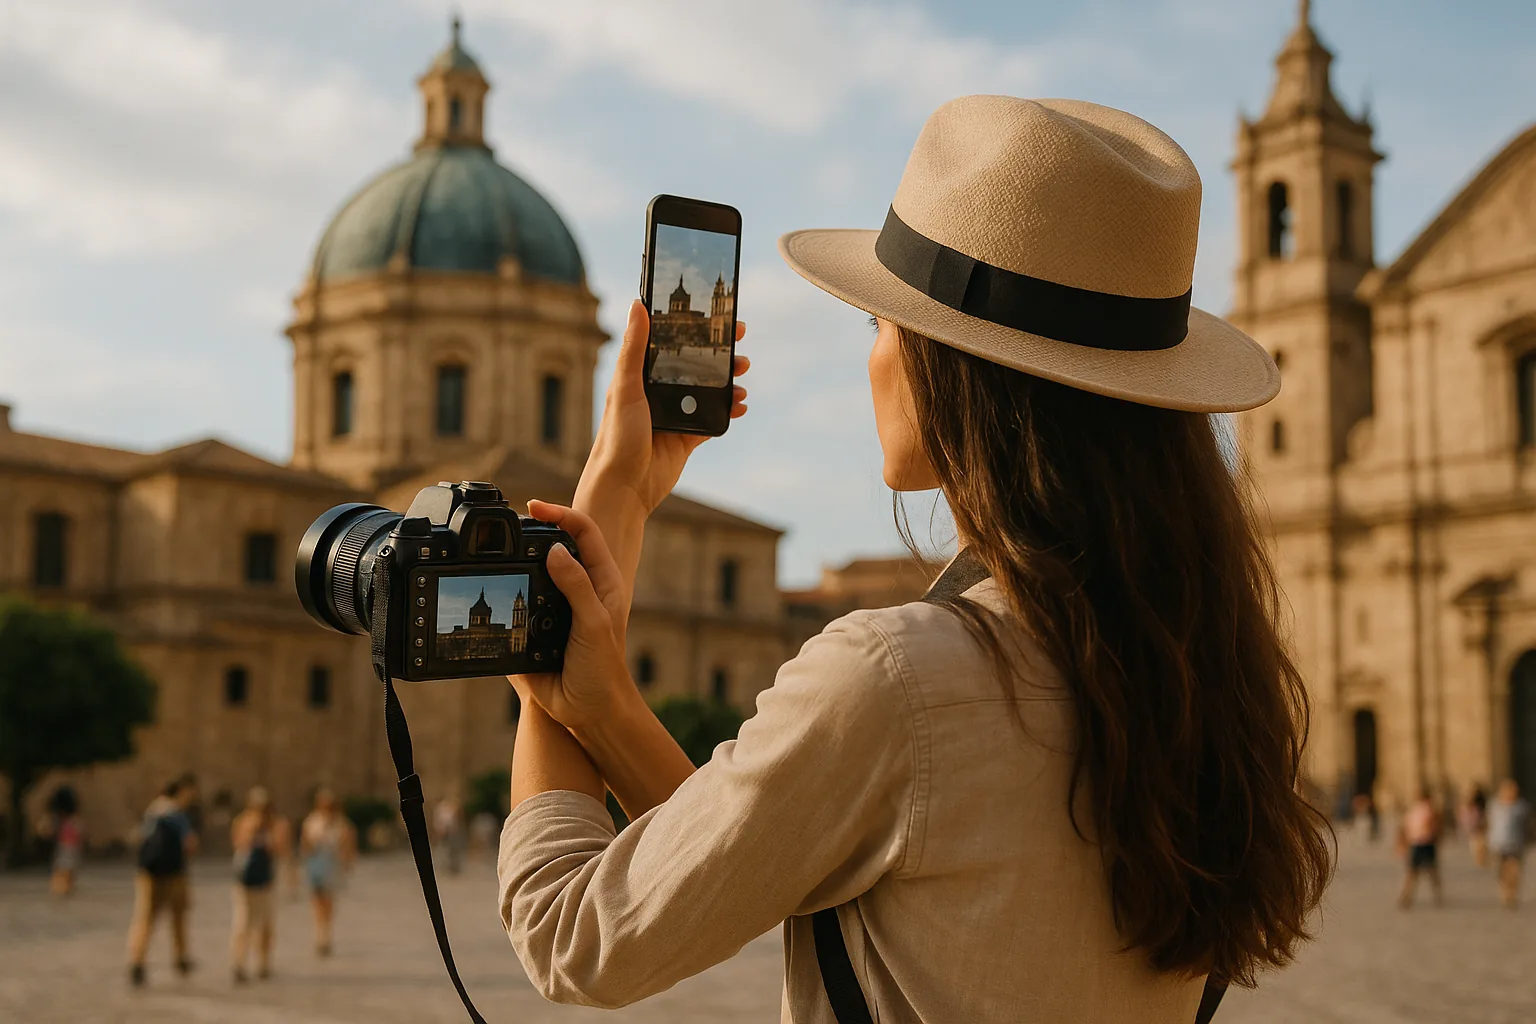
Why Your Travel Photos Don’t Look the Way You Remember
You’re standing in front of a stunning landscape — golden light, dramatic mountains, a street market buzzing with life — and you take the shot. But when you look at it later, something’s off. The photo is technically fine, but it doesn’t feel like what you experienced. Sound familiar? You’re not alone, and the good news is that improving your travel photography doesn’t require expensive gear or years of formal training. A handful of solid travel photography tips, applied consistently, can transform the way you capture your journeys — whether you’re shooting on a flagship smartphone or a dedicated camera.
This guide is about helping you take photos that actually tell your story. Not replicas of every other travel photo you’ve seen online, but images that hold the feeling of a place — the light, the chaos, the quiet, the color. Here are seven practical techniques to help you get there.
Tip 1: Chase the Light, Not the Location
If there’s one thing that separates a forgettable travel photo from an unforgettable one, it’s light. You can be standing in the most visually spectacular place on earth, but flat midday light will flatten everything — the textures, the mood, the depth. Learning to work with light is the single most powerful upgrade you can make to your photography.
The hours just after sunrise and just before sunset — often called the golden hour — deliver warm, directional light that wraps around subjects beautifully. Shadows become interesting. Colors deepen. Even ordinary scenes take on a cinematic quality. The blue hour, that brief window just before sunrise or after sunset, gives you cooler tones and a softer, more atmospheric feel that works especially well in cityscapes.
This doesn’t mean you can only shoot at dawn and dusk. Overcast days are actually ideal for portraits and market scenes, because clouds act as a giant natural diffuser, eliminating harsh shadows. Bright midday sun? Use it intentionally — seek out shade with interesting dappled light, or lean into high-contrast shadows for a bolder, more graphic composition.
The key is to stop treating light as a given and start treating it as an ingredient. Plan your visits to important locations around the light, not just the opening hours.
Tip 2: Learn Composition — Then Break the Rules
Composition is how you arrange everything within your frame. It’s what guides the viewer’s eye and gives an image its sense of balance, tension, or harmony. A few foundational principles go a long way.
The Rule of Thirds
Divide your frame into a three-by-three grid — most phones and cameras can display this overlay — and place your main subject along one of the grid lines or at an intersection point. It creates a more dynamic image than simply centering everything. That said, centered compositions can be incredibly powerful when used intentionally, especially with symmetry.
Leading Lines
Roads, rivers, fences, staircases, alleyways — these are all natural leading lines that draw the eye into a scene. Position yourself so that a strong line leads from the foreground toward your subject or into the distance. It creates depth and pulls the viewer into the frame rather than leaving them floating at the surface.
Foreground Interest
One of the most common mistakes in travel photography is ignoring the foreground. Including something interesting in the front of your frame — wildflowers, a cobblestone path, a person’s hands — adds layers to an image and makes it feel three-dimensional.
👉 Read also: Travel Photography for Your Phone: 7 Tips to Capture Better Memories (Not Just Selfies)
Once you understand these principles, experiment with breaking them. Tilt the horizon deliberately. Place your subject at the very edge of the frame. Cut off heads or feet. The rules exist to give you a foundation, not a formula. As Joris Hermans argues in his photography tips guide, too much travel photography has become repetitive because everyone follows the same visual templates. Developing your own eye means being willing to see differently.
Tip 3: Smartphone vs. Dedicated Camera — Know Your Tool
Here’s the honest answer: the best camera is the one you actually have with you. A dedicated camera — whether a mirrorless system or a compact with a larger sensor — will generally give you more control, better low-light performance, and higher image quality in challenging conditions. But a modern smartphone, used well, is genuinely capable of producing stunning travel images.
The real differences come down to a few practical realities. Smartphones excel at convenience, connectivity, and computational photography — features like night mode, portrait mode, and AI-enhanced processing have become remarkably sophisticated. They’re also far less conspicuous, which matters when you’re photographing people on the street or in markets where a large camera might feel intrusive.
Dedicated cameras give you optical zoom without quality loss, full manual control over exposure, and significantly better performance in low light or fast-action situations. If you’re serious about photography and willing to carry the extra weight, the results can justify it.
One simple but effective tip from Vicky Flip Flop Travels: always use your phone’s rear camera rather than the front-facing selfie camera. The rear sensor is significantly higher resolution and captures far more detail, especially in complex scenes. Use a timer, a tripod, or ask someone nearby to help if you want to be in the shot.
Whichever tool you use, learn it deeply. Know where the settings are. Understand what it handles well and where it struggles. Familiarity with your gear means you spend less time fumbling and more time seeing.
Tip 4: Tell a Story, Not Just a Scene
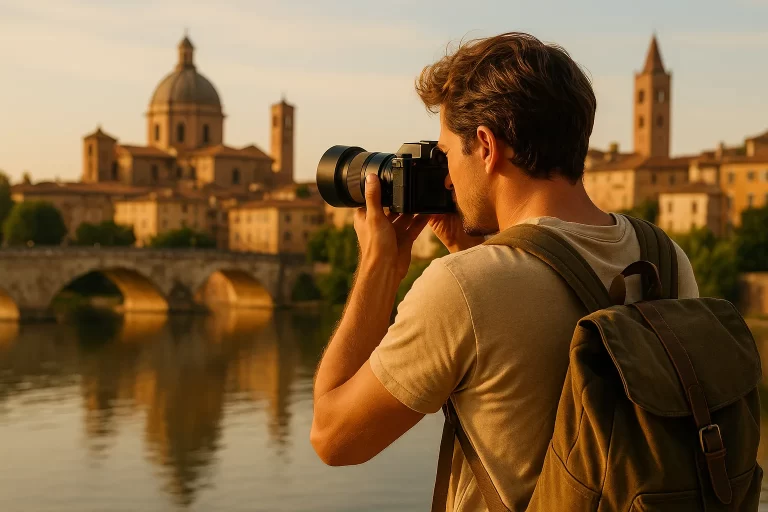
The most powerful travel photos aren’t just pretty pictures of places. They’re moments that carry meaning — a fisherman hauling nets at dawn, a child chasing pigeons through a square, an elderly couple sharing a meal at a street stall. These images communicate something beyond geography. They make you feel like you were there.
Storytelling in photography comes from paying attention to what’s actually happening around you, not just what looks visually striking. It means slowing down. Sitting with a scene for a few minutes before raising your camera. Watching the rhythm of a place — who moves through it, what they’re doing, how the light changes.
Think in sequences rather than single shots. A market scene, for example, could be told through a wide establishing shot of the whole space, a medium shot of a vendor arranging produce, and a close-up of hands exchanging money. Together, those three images communicate far more than any single frame could alone.
Include people whenever you can — with their permission where appropriate. Empty landscapes are beautiful, but human presence adds scale, emotion, and narrative. A lone figure walking through a misty forest, a group of friends laughing at a café table, a local artisan at work — these are the details that make a photo feel alive.
Tip 5: Shoot More, Edit Ruthlessly
Professional photographers take far more shots than they ever publish. This isn’t because they’re being wasteful — it’s because capturing the decisive moment requires volume. Use burst mode when photographing movement, people, or anything unpredictable. Bracket your exposures in tricky lighting. Try the same composition from three different angles before moving on.
👉 Read also: Documenting Your Journey: Travel Photography Tips for Every Budget
The discipline comes in the editing. Go through your shots honestly and keep only the ones that genuinely work. It’s tempting to keep everything because you remember how good the moment felt, but a tightly curated selection of strong images is always more impressive — and more honest — than hundreds of mediocre ones.
When it comes to post-processing, restraint is usually your friend. Adjust exposure and contrast, recover highlights, lift shadows slightly, and refine the white balance so colors look natural. Heavy-handed filters and over-saturation tend to date quickly and can strip away the authentic atmosphere you worked hard to capture. The goal is to make the image look the way the place actually felt — not to make it look like a preset someone downloaded.
Practice and experimentation are genuinely the fastest routes to improvement. As Alec Sills-Trausch emphasizes in his photography guide, consistent practice — shooting regularly, reviewing your results critically, and trying new approaches — compounds over time in a way that no single technique can replicate.
Tip 6: Work With Color and Atmosphere
Color is one of the most emotionally powerful elements in a photograph, and it’s something many photographers don’t think about consciously enough. Harmonious color palettes — images where the tones feel connected and intentional — tend to be more visually satisfying than chaotic ones. This doesn’t mean you need to control every element of a scene, but you can make choices that help.
Look for scenes where the colors naturally complement each other. A yellow fishing boat against a deep blue sea. A red door in a whitewashed village. A market stall draped in warm oranges and greens. Position yourself to exclude elements that clash or distract — a neon sign, a parked car in an otherwise timeless alley.
Atmosphere is equally important. Fog, rain, dust, smoke — these are all conditions that many photographers try to avoid, but they can produce some of the most atmospheric and memorable images. A rainy street reflecting neon lights, a misty mountain valley at dawn, the golden dust of a busy market — these conditions add texture and mood that clear, bright days often can’t match. Don’t pack your camera away when the weather turns. That’s often when things get interesting.
Tip 7: Develop Your Own Visual Style
This might be the most important travel photography tip of all, and it’s the hardest to teach: stop trying to recreate photos you’ve already seen. Social media has made certain travel images so ubiquitous — the symmetrical staircase shot, the feet-dangling-over-a-cliff composition, the perfectly posed figure in front of a famous landmark — that they’ve become visual clichés. That doesn’t mean you can’t photograph those things, but it does mean there’s enormous value in looking for your own angle.
Ask yourself what genuinely interests you about a place. Is it the architecture? The food culture? The people? Street life? Landscapes? Lean into that. Your curiosity will lead you to images that feel authentic rather than performed.
Look at photography you admire — not just travel photography, but documentary work, street photography, portraiture, fine art — and notice what draws you to it. Is it the light? The composition? The emotional quality? The subject matter? Over time, studying images you love will start to influence the images you make, and a personal visual style will begin to emerge.
The most compelling travel photographers aren’t the ones with the most expensive gear or the most exotic destinations. They’re the ones who’ve developed a way of seeing that’s distinctly their own. That’s something no algorithm, no filter pack, and no gear upgrade can give you — it comes from paying attention, shooting consistently, and being willing to experiment.
A Few Practical Things Worth Knowing
- Clean your lens. It sounds obvious, but a smudged phone lens is responsible for more soft, hazy travel photos than almost any other factor. A quick wipe before you shoot makes a real difference.
- Shoot in RAW if your device allows it. RAW files retain far more information than JPEGs and give you much more flexibility when editing, especially in tricky lighting conditions.
- Get up early. The first hour after sunrise is consistently the best time to photograph popular locations — the light is beautiful, the crowds are thin, and the atmosphere is often magical.
- Ask before photographing people. A smile and a gesture go a long way across language barriers. Respecting people’s dignity and privacy isn’t just ethical — it often leads to more genuine, connected portraits than candid shots taken without permission.
- Back up your photos regularly. Use cloud storage, carry a spare memory card, or transfer images to a laptop every few days. Losing a week of travel photography to a lost phone or corrupted card is a genuinely painful experience that’s completely avoidable.
- Put the camera down sometimes. The best travel photography guides — from Digital Photography School to independent creators — all acknowledge the same thing: some moments are worth experiencing fully rather than documenting. Knowing when to shoot and when to just be present is a skill in itself.
The Best Travel Photos Feel Like Memories
That’s ultimately what you’re chasing when you work on your travel photography — not likes, not validation, not a portfolio that looks like everyone else’s. You’re trying to build a visual record that actually captures what it felt like to be somewhere, so that years from now, a single image can take you straight back to that morning light in a foreign city, that unexpected conversation with a stranger, that moment when a place revealed something you weren’t expecting to find. The techniques in this guide — light, composition, storytelling, color, style — are all just tools in service of that larger goal. Use them thoughtfully, experiment freely, and keep your eyes open. The world is full of extraordinary images waiting to be made. You just have to be curious enough to look for them.
This article was produced with AI assistance and reviewed editorially.


Southeast Asia on a Shoestring: Budget Routes Across Thailand, Vietnam & Cambodia

Southeast Asia Decoded: Hanoi 3-Day Itinerary + Vietnam Misconceptions Debunked


