
Tips & Tricks
Travel Photography for Young Adventurers: 7 Tips to Document Your Journey Better in 2026
Learn 7 practical travel photography tips to capture authentic moments with any gear. Master lighting, composition, and storytelling to document real experiences.

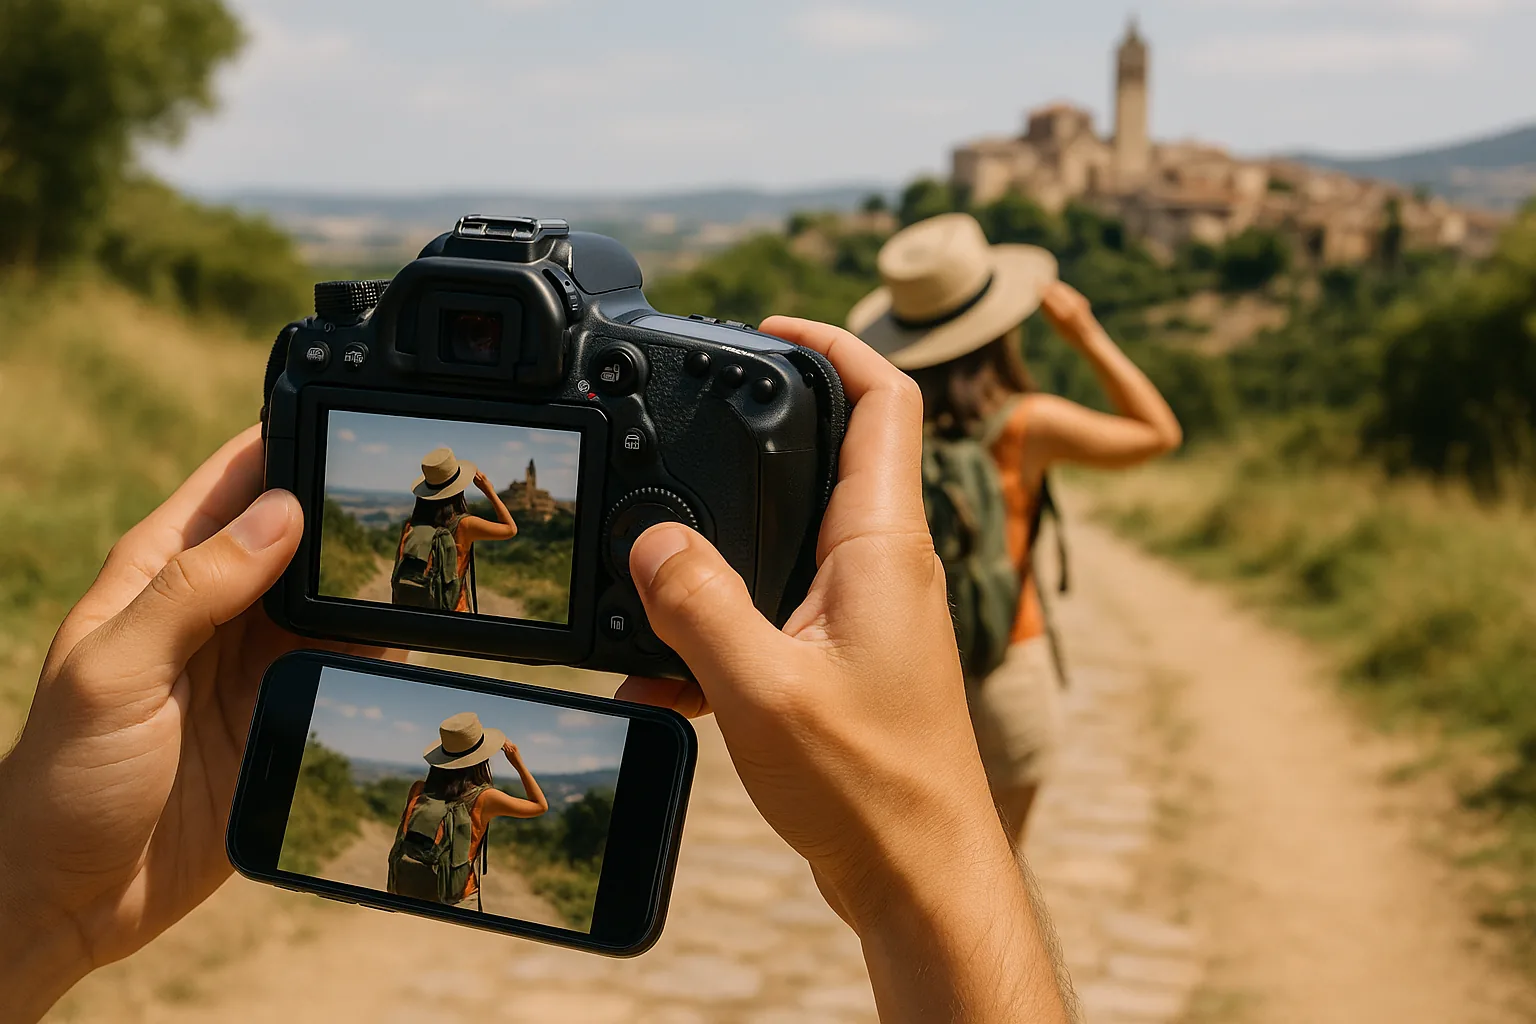
Travel Photography for Young Adventurers: How to Document Your Journey Better
You’ve just arrived somewhere extraordinary — a crumbling temple at dawn, a market bursting with color, a coastline that looks nothing like the photos you saw online. And then you pull out your phone, take a quick shot, and somehow the image looks flat. Dull. Like a postcard nobody would buy. Sound familiar? The good news is that great travel photography tips aren’t reserved for professionals with expensive equipment and years of training. They’re practical, learnable, and once you internalize them, they change the way you see every destination you visit. This guide covers seven core techniques to help you capture authentic moments, tell real stories, and come home with images that actually do justice to what you experienced.
1. Learn Your Gear Before You Go — Whatever It Is
One of the most consistent pieces of advice from experienced travel photographers is deceptively simple: practice with your gear before you travel. Whether you’re shooting on a flagship smartphone, a mirrorless camera, or a compact point-and-shoot, the worst time to figure out your settings is when a perfect moment is unfolding in front of you.
Spend a week before your trip shooting in your own city. Experiment with portrait mode, manual focus, exposure compensation, or whatever features your device offers. Get comfortable changing settings quickly without looking. When you’re standing in front of a centuries-old temple in Japan or watching elephants move across the South African savanna, you want your hands to move on instinct — not fumble through menus.
Phone cameras in 2026 are genuinely capable of producing stunning travel images, especially in good light. Dedicated cameras still offer advantages in low light, optical zoom range, and creative control — but the best camera is always the one you have with you and know how to use well. Don’t let gear anxiety stop you from shooting. Focus on mastering whatever you’ve got.
2. Chase the Light — Golden Hour Is Real and It’s Worth the Alarm
Lighting is the single biggest factor separating a mediocre travel photo from a genuinely moving one. And the most valuable light of the day happens in two windows: the hour after sunrise and the hour before sunset. Photographers call these golden hour and blue hour, and they transform ordinary scenes into something almost cinematic.
Getting up early and staying out late are among the most consistently recommended travel photography tips — and for good reason. At golden hour, the light is warm, directional, and soft. Shadows are long and dramatic. Colors feel saturated without being garish. The same street that looks harsh and flat at noon becomes a completely different photograph at 6am.
There’s a practical bonus too. Early mornings mean fewer crowds. You’ll have famous landmarks to yourself, or close to it. The Eiffel Tower at sunrise, a Kyoto bamboo grove before the tour groups arrive, a Moroccan medina as the first vendors set up their stalls — these are the shots that feel alive rather than staged.
Check a sunrise/sunset calculator before each shoot day. Plan which locations you want to hit and at what time. It takes a little discipline, but waking up early on a trip is almost always worth it.
3. Composition: Move Your Feet Before You Touch the Screen
Most people take a photo from wherever they happen to be standing. Great travel photographers move. They crouch, climb, step sideways, walk closer, walk further back. Before you press the shutter, ask yourself: is this really the most interesting angle?
A few composition principles worth building into your instincts:
- The rule of thirds: Imagine your frame divided into a 3×3 grid. Place your subject at one of the intersection points rather than dead center. It creates visual tension and feels more natural to the eye.
- Leading lines: Roads, rivers, staircases, fences, and alleyways all draw the viewer’s eye into the frame. Position yourself so these lines guide attention toward your subject.
- Foreground interest: Including something in the foreground — flowers, rocks, a local’s hands — adds depth and makes flat scenes feel three-dimensional.
- Framing within the frame: Doorways, arches, windows, and tree branches can frame your main subject naturally, adding context and drawing focus.
- Negative space: Sometimes what you leave out of a frame is as powerful as what you include. A lone figure against a vast desert sky tells a story without clutter.
The key habit is to pause before shooting. Take five seconds to look at the edges of your frame, consider the light direction, and ask whether moving even a meter in any direction would improve the shot. That pause is free. Use it.
👉 Read also: Documenting Your Journey: Travel Photography Tips for Every Budget
4. Tell a Story, Not Just a Scene
The difference between a travel snapshot and a travel photograph is often storytelling. A photo of a beautiful market is nice. A photo of an elderly vendor carefully arranging spices at dawn, with the market slowly coming to life behind her, tells you something about a place and its people.
Think about your images in sequences rather than individual shots. When you arrive somewhere, try to capture the establishing shot (the wide view that shows where you are), a mid-range shot (showing human activity or interaction), and a detail shot (a texture, a face, a sign, a hand). Together, these three layers create a visual narrative that a single photo can’t.
Ask for permission when photographing people. In many cultures, this isn’t just polite — it’s essential. And when you do photograph people, it often leads to a conversation, a connection, and a memory that outlasts the image itself. Some of the most compelling travel photographs come from the moment after someone says yes — when they relax, smile genuinely, or simply go back to what they were doing while you document it honestly.
Resist the urge to stage everything. Authenticity reads in photographs. The slightly blurry market scene where something real is happening will almost always feel more alive than a perfectly posed shot in the same location.
5. Avoid the Clichéd Shot — Then Decide If You Want It Anyway
Every famous destination has its iconic photograph. The Leaning Tower of Pisa “held up” by an outstretched hand. The Eiffel Tower framed between two hands. The Machu Picchu llama. There’s nothing inherently wrong with these shots — they’re fun, they’re part of the experience, and sometimes they’re genuinely joyful to take.
But if you want images that feel like yours, it’s worth spending a few minutes at any famous site looking for a different perspective. Walk around the edges of the popular viewpoint. Look behind you. Look down. Shoot through something. Wait for an unexpected moment — a child running through the frame, a sudden shaft of light, a local going about their day against the backdrop of a landmark.
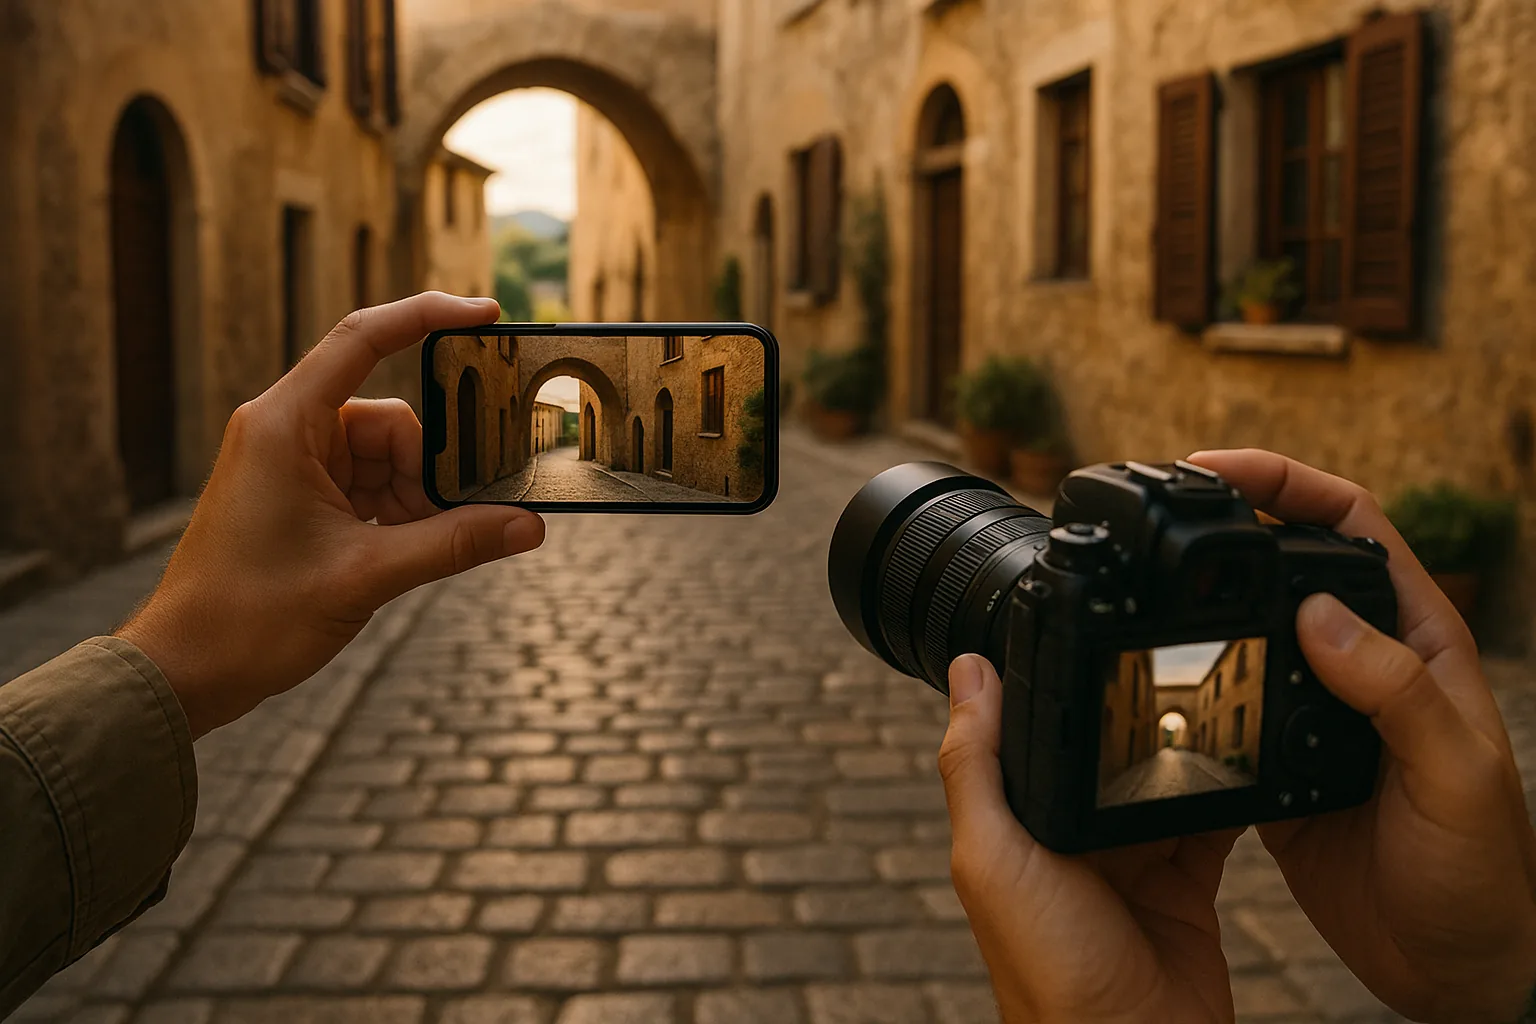
Research is one of the most underrated travel photography tips. Before visiting a destination, look at what photos already exist of it. Not to copy them, but to understand what’s been done — and then think about what hasn’t. Local photography forums, travel communities, and even resources like Digital Photography School can help you identify both the classic angles and the less-explored perspectives worth seeking out.
The goal isn’t to avoid famous spots. It’s to see them with fresh eyes.
6. Do Your Research Before You Arrive
The photographers who consistently come home with extraordinary images aren’t just technically skilled — they’re prepared. They know which direction the light falls at a particular location in the morning. They know that a certain viewpoint gets crowded by 9am. They know there’s a rooftop café nearby that offers an angle most tourists miss.
This kind of preparation doesn’t take long, but it pays off enormously. Spend an evening before each major location looking up:
- Sunrise and sunset times and directions
- The best times of day for different spots (some locations face east; others west)
- Any local events, festivals, or markets that might add life to your images
- Access restrictions or permit requirements for certain locations
- Less-visited viewpoints or neighborhoods that locals actually use
Resources like Explore with Alec’s travel photography guide offer practical location-specific advice worth reading before you pack your bags. The more context you bring to a place, the more intentional your photography becomes — and intentional photography almost always produces better results than lucky snapping.
👉 Read also: Travel Photography for Your Phone: 7 Tips to Capture Better Memories (Not Just Selfies)
7. Edit with Restraint — Let the Place Speak
Post-processing is part of modern photography, and there’s no shame in editing your images. Adjusting exposure, recovering shadow detail, correcting white balance, or giving a slight boost to contrast can all improve a photo significantly. The problem comes when editing becomes a substitute for a good image rather than an enhancement of one.
Heavy filters and extreme edits can make every destination look the same — all moody blues and crushed shadows, or all blown-out oranges and artificial warmth. After a while, your feed starts to look less like your travels and more like a filter catalogue. That’s the opposite of authentic storytelling.
A few editing principles worth keeping in mind:
- Aim for natural-looking light. If you were there at golden hour, your edit should feel like golden hour — not a neon sunset.
- Adjust highlights and shadows before reaching for the saturation slider. Most images improve more from tonal balance than from color boosting.
- Develop a consistent but subtle style rather than applying a different dramatic filter to every image.
- When in doubt, ask yourself: does this edit make the photo feel more like what I actually experienced, or less?
The goal of editing is to bring out what was already there — the quality of the light, the mood of the moment, the character of the place. Not to replace it with something that looks impressive but feels hollow.
Phone vs. Camera: What Actually Matters for Young Travelers
The Honest Answer
This debate comes up constantly, and the honest answer is: it depends far less on the device than on the photographer using it. Smartphones have closed the gap with dedicated cameras dramatically in recent years, and for most travel scenarios — street photography, portraits in good light, landscapes during golden hour — a modern phone is more than capable of producing images worth keeping.
Where dedicated cameras still shine is in challenging conditions: low light interiors, fast-moving wildlife, scenes requiring serious optical zoom, or situations where you want precise manual control over depth of field. If you’re planning a safari in southern Africa or a night photography session under the Milky Way, a camera with a capable lens will serve you better.
For most young travelers on the move, though, the practical advantages of a phone — it’s always in your pocket, it’s discreet, it connects directly to social media, and it doesn’t add weight to your bag — often outweigh the technical advantages of a dedicated camera. The best travel photography tips apply equally to both: light, composition, timing, and storytelling don’t care what device you’re holding.
The Bigger Picture: Photography as a Way of Seeing
Here’s something that experienced travel photographers often say, and it’s worth taking seriously: carrying a camera changes how you experience a place. It slows you down. It makes you notice the angle of the light, the expression on a stranger’s face, the way a shadow falls across a cobblestone street. It turns passive sightseeing into active observation.
That shift in attention is one of the most valuable things travel photography gives you — not the images themselves, but the habit of looking closely. Of noticing. Of being present in a place rather than moving through it.
The images you come home with will be better for it. But more importantly, the experience of being there will be richer too.
Whether you’re shooting on a phone in a Lisbon alleyway, experimenting with long exposures on a Canadian lakeshore at midnight, or quietly documenting daily life in a Vietnamese fishing village, the principles remain the same: understand your light, move before you shoot, tell a real story, and let the place be itself. Do that consistently, and your travel photography will grow in ways that no filter or expensive lens can replicate — because the growth happens in how you see the world, not just in how you capture it.
This article was produced with AI assistance and reviewed editorially.


How to Take Better Travel Photos: 7 Practical Tips Beyond the Selfie (2026)

Travel Photography for Young Adventurers: 7 Tips to Document Your Journey Better in 2026


