
Tips & Tricks
Master Your Travel Photography: 7 Tips to Capture Your Adventures Like a Pro
Learn practical travel photography tips to capture moments that feel as alive as being there. Master light, composition, and storytelling whether you use a phone or camer

Why Your Travel Photos Don’t Look the Way You Remember
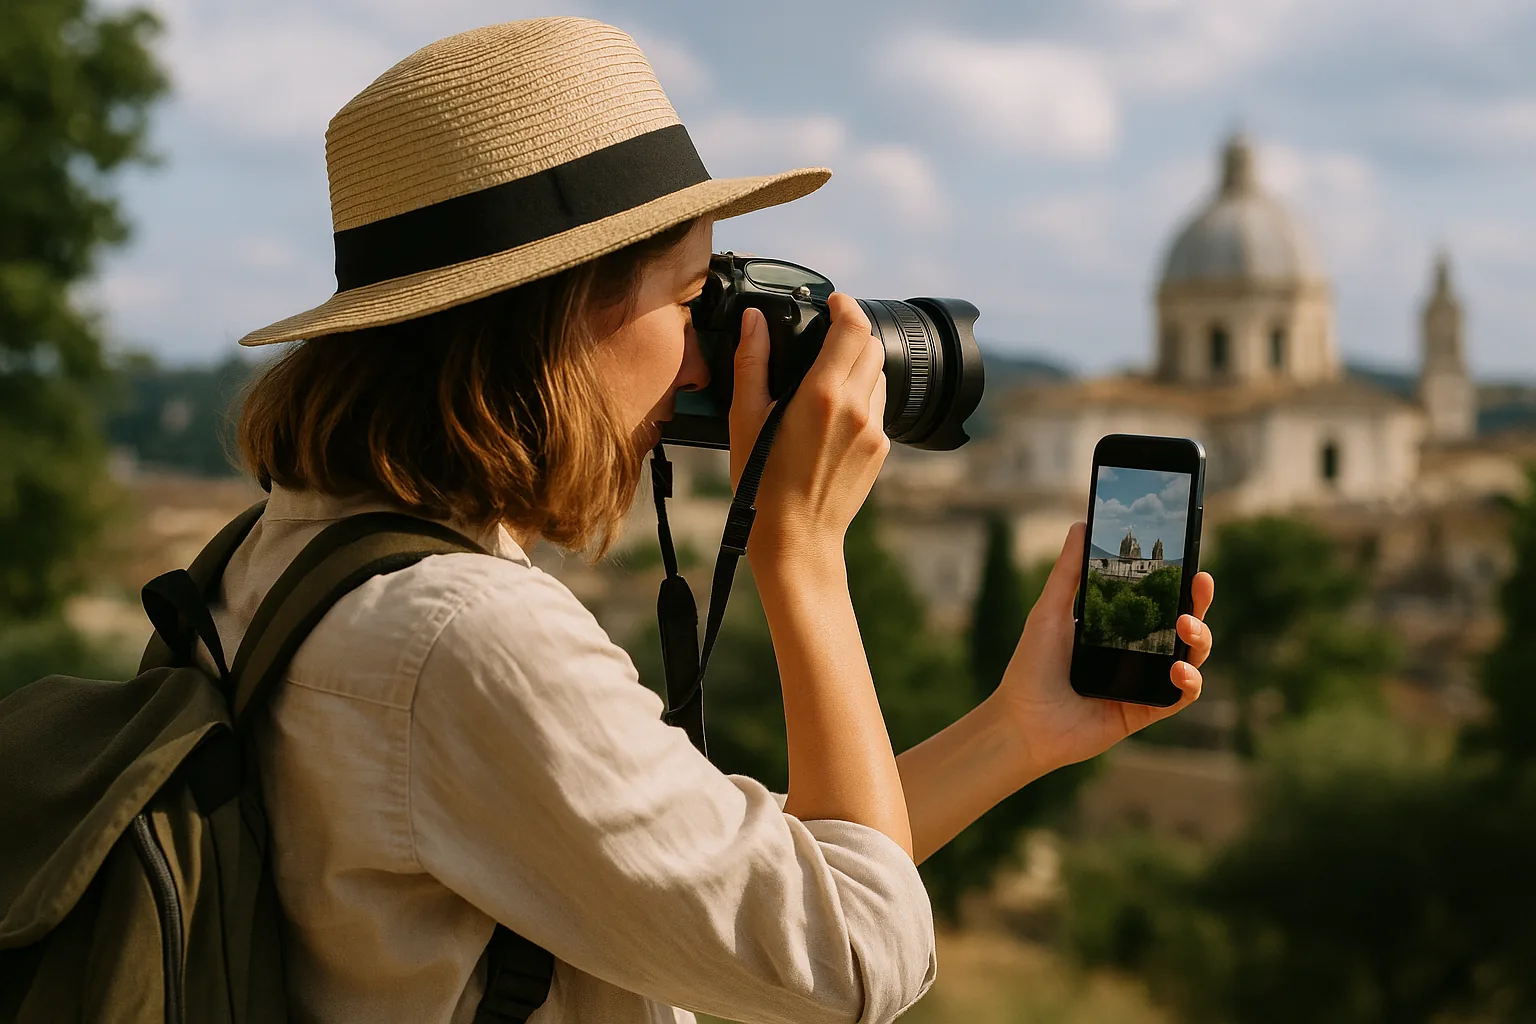
You’re standing in front of a stunning landscape. The light is golden, the air smells like something you can’t quite name, and everything feels alive. You pull out your phone or camera, take the shot — and somehow the photo looks flat. Ordinary. Nothing like what you actually experienced. Sound familiar? You’re not alone, and the good news is that it’s not about your gear. It’s about knowing a handful of travel photography tips that completely change how you see and capture a place. Whether you’re shooting on a smartphone or a mirrorless camera, these principles will help you turn snapshots into stories.
Tip 1: Learn to Read the Light
Light is everything in photography. The same street can look completely different at 7am versus midday versus sunset. Understanding how light works — and planning your shots around it — is the single biggest upgrade you can make to your travel photography.
The golden hour, roughly the first hour after sunrise and the last hour before sunset, wraps everything in warm, directional light that makes colors richer and shadows more interesting. Midday light, especially in summer, tends to be harsh and flat. It bleaches colors and creates unflattering shadows. That doesn’t mean you can’t shoot in the middle of the day — it just means you need to be more intentional. Seek shade, look for reflections, or embrace the contrast if it suits the mood.
Overcast days are actually a hidden gem for portrait-style shots and street photography. The clouds act as a giant diffuser, softening shadows and making skin tones look natural. Don’t pack your camera away just because the sun isn’t out.
Tip 2: Think About Composition Before You Press the Shutter
Composition is the difference between a photo that makes someone stop scrolling and one they swipe past in half a second. The good news? A few simple techniques go a long way.
The Rule of Thirds
Imagine your frame divided into a grid of nine equal squares. Placing your subject along one of the grid lines — or at the intersection points — creates a more dynamic, balanced image than centering everything. Most cameras and phones have a grid overlay you can switch on in settings. Use it until the habit becomes instinctive.
Minimize Dead Sky
One of the most common mistakes in travel photos is giving too much space to a blank, featureless sky. Unless the sky is doing something dramatic — storm clouds, a vivid sunrise, a crescent moon — tilt your camera down and let the interesting foreground elements fill the frame. This immediately makes compositions feel more grounded and engaging.
Use Leading Lines
Roads, rivers, staircases, fences, alleyways — these natural lines draw the viewer’s eye through the image and create a sense of depth. When you arrive somewhere new, look for these lines before you look for your subject. Often, they’ll tell you exactly where to stand.
Tip 3: Capture the Story, Not Just the Face
As Robert Caputo wrote for National Geographic’s travel photography guide, a great photograph should capture a place’s character, ambiance, and sensations — it should trigger memories and communicate feelings, not just document that you were somewhere.
That means looking beyond the obvious shot. Instead of just photographing a famous market stall, capture the vendor’s hands arranging the produce. Instead of a posed group photo at a viewpoint, photograph the moment someone laughs at something unexpected. Instead of a wide shot of a crowded beach, zoom into the sandcastles, the peeling paint on a beach chair, the footprints leading to the water.
👉 Read also: Documenting Your Journey: Travel Photography Tips for Every Budget
Details tell stories. They’re also the things you’ll forget most quickly once you’re home, which makes them some of the most valuable images you can take.
Tip 4: Use Burst Mode and Shoot More Than You Think You Need
Movement is unpredictable. People blink. Waves crash at the wrong moment. A bird flies through the frame just as you press the shutter. Burst mode — where your camera or phone fires multiple shots in rapid succession — gives you a much higher chance of capturing the perfect split second.
This is especially useful for street photography, action shots, and any moment involving other people. You’re not being lazy by shooting in burst mode; you’re being smart. The skill isn’t in taking fewer photos — it’s in knowing which one to keep.
That said, be ruthless when you edit. Keeping five versions of the same mediocre shot doesn’t make any of them better. Pick the strongest image, delete the rest, and move on. Your storage space and your future self will thank you.
Tip 5: Work With Color Intentionally
Color harmony is something professional photographers think about constantly, and it’s a concept that applies just as much to travel photography. When the colors in your frame work together — complementary tones, a consistent palette, or a single bold color against a neutral background — the image feels cohesive and visually satisfying.
You don’t need to plan this obsessively, but start noticing it. If you’re photographing a blue fishing boat, look for a background that contrasts or complements rather than clashes. If you’re in a market full of warm oranges and reds, lean into that palette rather than trying to include everything at once.
In post-processing, resist the urge to crank up every slider. Subtle edits — a slight warmth adjustment, a gentle boost to contrast, bringing up the shadows just enough to show detail — will almost always look more natural and more professional than heavy-handed filters. Many photographers find that editing toward a consistent style across their travel photos makes the whole collection feel like a cohesive story rather than a random assortment of images.
Tip 6: Get Your Shot Right In-Camera
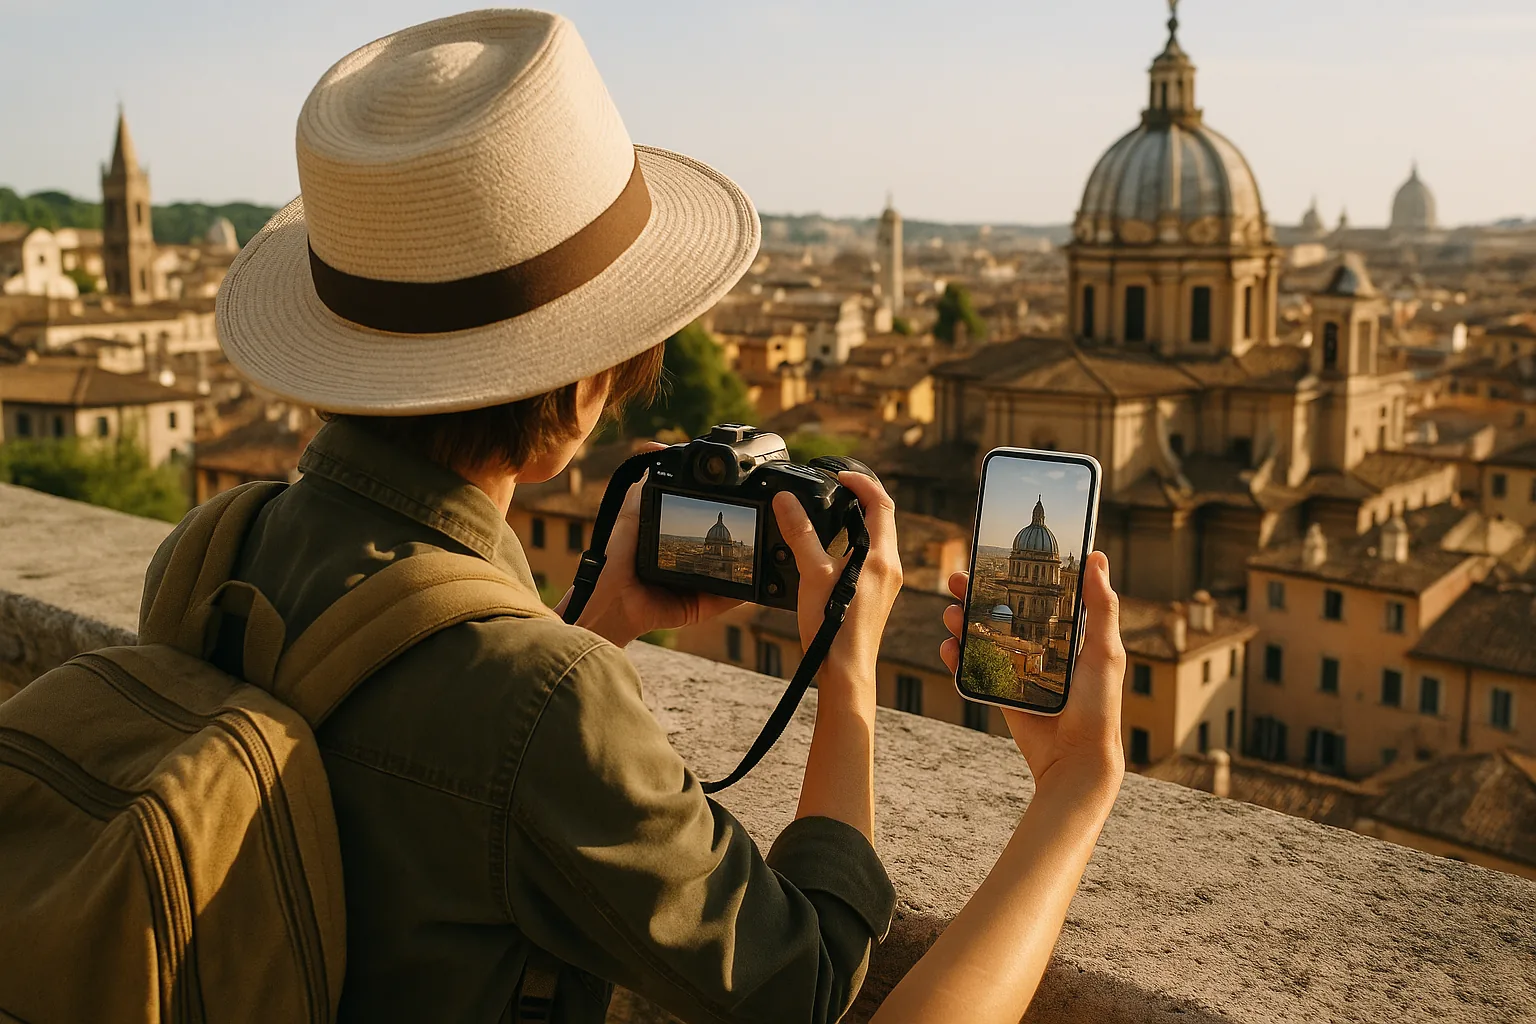
Editing is a powerful tool, but it works best when it’s enhancing an already solid image rather than rescuing a poor one. Learning to get your exposure, focus, and framing right before you press the shutter will save you hours of frustration later — and produce better results overall.
Exposure Basics
Even if you’re shooting on a smartphone, you can usually tap on a specific part of the screen to adjust where the camera meters the light. Tap on a bright sky and everything else goes dark. Tap on a shadowed face and the background blows out. Experiment with this until you understand how your camera reads light.
Focus and Depth of Field
Blurry backgrounds (known as bokeh) can make a subject pop beautifully, but only if the focus is sharp exactly where you want it. Most cameras let you select a focus point manually — use this feature rather than relying on automatic face detection, which doesn’t always pick the right subject in a complex scene.
👉 Read also: Travel Photography for Your Phone: 7 Tips to Capture Better Memories (Not Just Selfies)
Steady Your Shot
Camera shake is one of the most common causes of blurry photos, especially in low light. Brace your elbows against your body, lean against a wall, or use a small travel tripod for night shots and long exposures. Even pressing the shutter gently rather than jabbing at it makes a noticeable difference.
Tip 7: Be Present First, Photographer Second
This might be the most important travel photography tip of all, and it’s the one that’s easiest to forget when you’re somewhere new and exciting. The best photographers aren’t the ones who spend the entire trip looking through a viewfinder. They’re the ones who put the camera down, absorb the moment, and then pick it up again when something genuine is happening.
When you’re fully present in a place, you notice things you’d otherwise miss — the way the light shifts as clouds move, the quiet interaction between two strangers, the unexpected alley that leads somewhere extraordinary. These are the moments that make for compelling images, and you’ll only spot them if you’re actually paying attention to your surroundings rather than hunting for the next shot.
This is also what makes your photos feel different from everyone else’s. The tourist-trap angles, the identical compositions, the same landmarks shot from the same spot — they exist because most people photograph what they’re told to photograph. Wander. Slow down. Stay somewhere longer than feels comfortable. The images you find when you’re genuinely curious about a place are almost always more interesting than the ones you planned in advance.
Gear: It Matters Less Than You Think (But Still Matters)
Modern smartphones are genuinely capable of producing stunning travel photographs. The gap between a high-end phone camera and a dedicated mirrorless camera has narrowed dramatically, and for most travel situations — street scenes, landscapes, portraits in good light — a phone will serve you well.
Where dedicated cameras still have a clear advantage is in challenging light conditions (low light, harsh contrast), in situations where you need a long zoom without quality loss, and when you want full manual control over every aspect of the exposure. If you’re serious about improving your photography and you travel frequently, investing in a lightweight mirrorless camera and one or two versatile lenses is worth considering.
But don’t wait until you have “better gear” to start practicing. The habits — noticing light, thinking about composition, looking for story — are the same regardless of what you’re shooting with. Build those instincts now, and better equipment will simply give you more ways to express them.
For deeper technical guidance and inspiration, resources like Digital Photography School’s travel photography guide are worth bookmarking. They cover everything from camera settings to post-processing workflows in genuinely useful detail.
Practical Habits That Make a Real Difference
- Shoot in RAW format if your camera supports it — it gives you far more flexibility when editing, especially for recovering highlights and shadows.
- Back up your photos daily — cloud storage, a portable hard drive, or both. Losing a week of images to a corrupted memory card is a genuinely painful experience.
- Arrive early at popular spots. The light is better, the crowds are smaller, and you’ll have space to experiment with your framing without people constantly walking into your shot.
- Ask permission before photographing people, especially in culturally sensitive contexts. A smile and a gesture go a long way, and the connection you make in that moment often leads to a more authentic portrait than a candid shot ever would.
- Keep your camera accessible — a camera buried in your bag is a camera that misses moments. A lightweight sling bag or a camera strap you actually like wearing makes a practical difference.
- Revisit the same spot at different times of day. A market at dawn, noon, and dusk is three completely different photographs.
Putting It All Together on the Road
The best travel photography tips aren’t individual tricks — they’re a way of seeing. When you start thinking about light, composition, and story simultaneously, it stops feeling like a checklist and starts feeling like a natural part of how you experience a place. You’ll find yourself noticing the angle of afternoon light on a cobblestone street, or the way a doorway frames a view, or the quiet moment between two people at a café table that says more about a city than any landmark ever could.
That’s the real goal: not to come home with technically perfect images, but to come home with photographs that actually feel like the journey. Photos that, when you look at them months or years later, take you straight back to the smell of that morning market, the sound of that street musician, the feeling of being somewhere new and alive with possibility. That’s what great travel photography does — it doesn’t just document where you’ve been. It captures what it felt like to be there.
So take the shot. Then put the camera down and look around. The next great image is already waiting — you just have to notice it.
This article was produced with AI assistance and reviewed editorially.


Master Your Travel Photography: 7 Tips to Capture Your Adventures Like a Pro

How to Travel Smarter: Photography, Transportation & Planning Tips (2026)


