
Tips & Tricks
Documenting Your Journey: Travel Photography Tips for Every Budget
Learn practical travel photography tips that work with any camera or phone. Discover seven actionable techniques to capture authentic moments and tell better visual stori

Why Your Travel Photos Deserve Better Than a Quick Snap
You’ve just arrived somewhere that took your breath away — golden light spilling over rooftops, a market buzzing with color and noise, a stranger laughing at something you barely understood. You reach for your phone or camera, take a shot, and move on. But later, scrolling back through your gallery, something feels off. The image is technically fine, but it doesn’t feel like anything. It doesn’t take you back. That gap between what you experienced and what you captured is exactly what good travel photography tips help you close — and the good news is, you don’t need expensive gear to do it.
Whether you’re shooting on a mirrorless camera you saved up for or the phone currently in your pocket, the principles that separate forgettable snapshots from genuinely compelling travel images are the same. It’s about intention, timing, and learning to see your surroundings differently. This guide walks you through seven practical, actionable techniques to help you document your journey in a way that actually tells a story.
Gear Doesn’t Define the Shot — But Understanding It Does
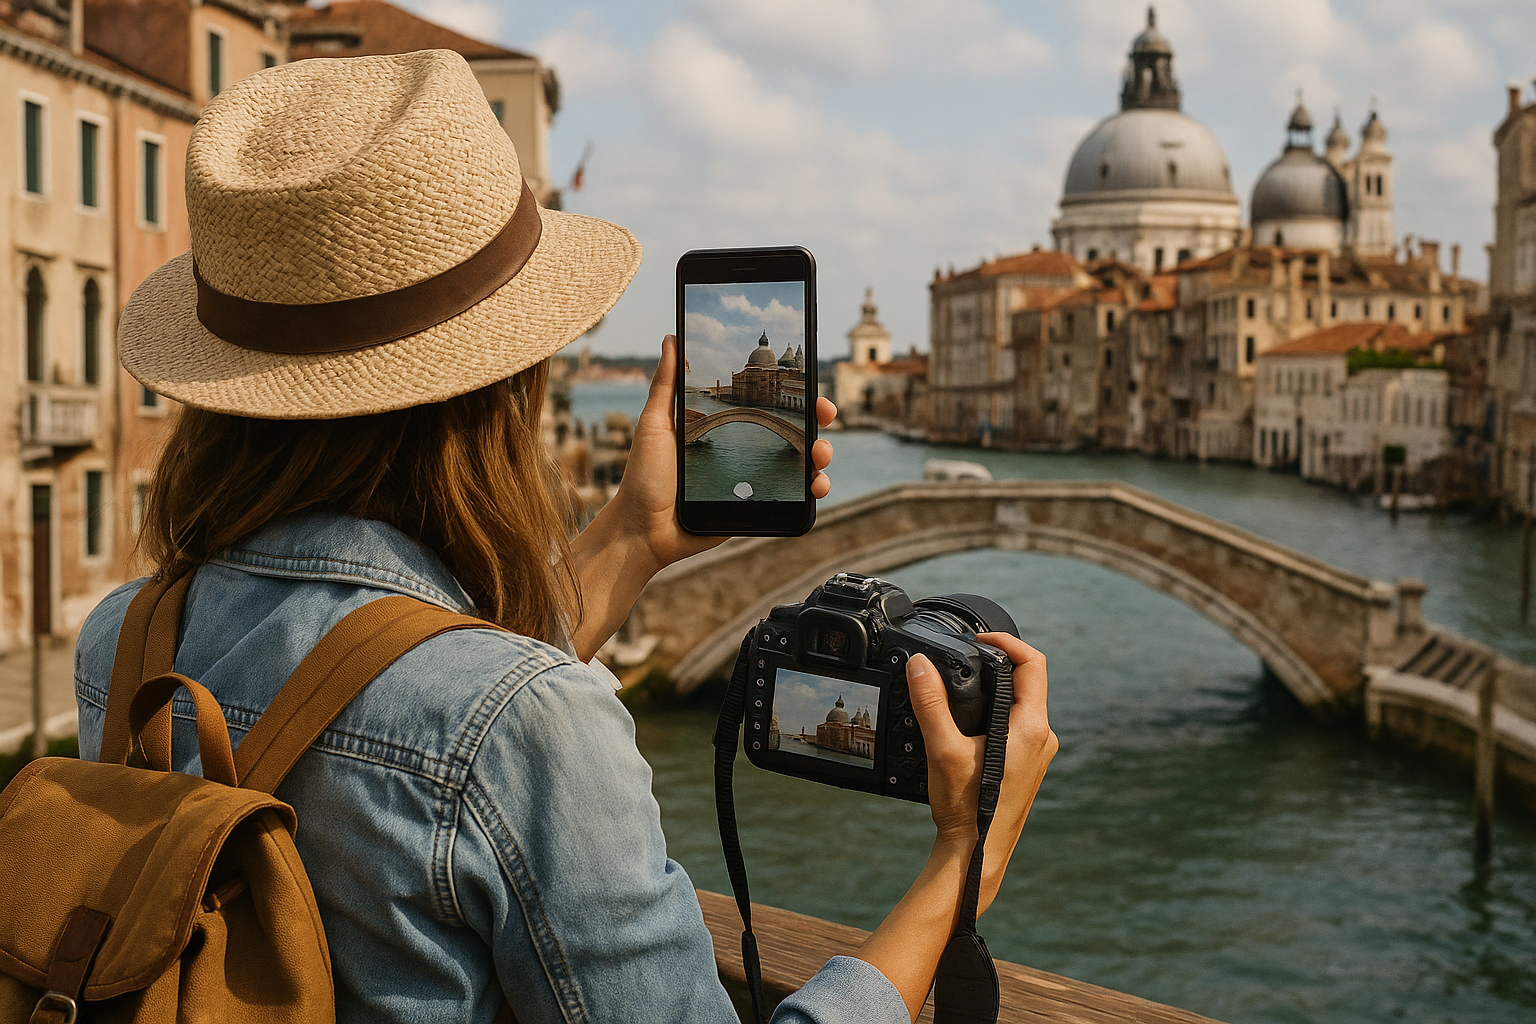
Let’s address the elephant in the room: the phone versus camera debate. Both are legitimate tools. Both have real strengths. What matters is knowing yours.
Smartphones in the mid-2020s are genuinely powerful. Their computational photography, wide dynamic range, and portability make them ideal for street photography, candid moments, and situations where pulling out a big camera would change the atmosphere of a scene. If you’re moving fast, traveling light, or trying to blend in at a local market, your phone is often the better choice.
A dedicated camera — whether a DSLR, mirrorless, or compact — gives you more manual control, better low-light performance, and greater flexibility in post-processing, especially if you shoot in RAW format. That matters when you’re chasing a dramatic landscape at dusk or trying to freeze a fast-moving moment with precision.
The real skill is adapting your approach to whichever tool you have. Learn your camera’s or phone’s limitations. Know when it struggles with shadows. Know how to tap to focus on a phone screen or dial in exposure compensation on a compact camera. That knowledge is worth more than any equipment upgrade.
Seven Travel Photography Tips to Transform Your Images
1. Chase Light, Not Just Locations
Light is the single most transformative element in any photograph. The same street looks completely different at noon versus an hour after sunrise. Midday sun creates harsh shadows and washes out color. The soft, warm light of early morning or late afternoon — often called golden hour — wraps everything in a glow that’s genuinely hard to replicate in editing.
This means waking up early. It means staying out later than your group wants to. It means revisiting a spot you liked at a different time of day. It’s one of the most consistent travel photography tips you’ll find across every photographer’s advice, from beginners to professionals, and for good reason: it works every single time.
Overcast days are also underrated. Clouds diffuse light evenly, which is ideal for portraits and market scenes where you want to capture color and texture without distracting shadows.
2. Tell a Story, Not Just a Scene
A photo of a beautiful temple is nice. A photo of an elderly woman lighting incense at that same temple, with smoke curling toward the ceiling and soft light falling across her hands, is something you’ll remember for years. The difference is story.
Documentary-style travel photography focuses on capturing moments that reveal something true about a place or a person. Rather than arranging everything perfectly and asking people to pose, look for the moments that are already happening. A vendor arranging fruit at dawn. Children playing in a courtyard. A mechanic fixing a motorbike on the side of the road. These images carry weight because they’re real.
This approach takes patience. You might wait ten minutes for the right moment. But when it comes, you’ll know — and the resulting photo will feel alive in a way that posed shots rarely do. Resources like Digital Photography School’s guide to documentary travel photography explore this approach in depth, and it’s worth reading before your next trip.
3. Get Closer Than You Think You Need To
One of the most common mistakes in travel photography is staying too far back. Wide establishing shots have their place, but the images that tend to resonate emotionally are the ones where you can see the texture of a worn door, the expression in someone’s eyes, or the intricate detail of a handmade textile.
Getting closer forces you to make a choice about what the photo is actually about. It eliminates distracting backgrounds. It creates intimacy. And on a phone camera especially, closing the physical distance between you and your subject produces sharper, more detailed results than relying on digital zoom, which degrades image quality significantly.
If you’re photographing people, getting closer also means engaging with them first — making eye contact, smiling, maybe asking permission. That interaction often produces a better photo anyway, because the subject relaxes and you capture something genuine rather than a startled expression.
4. Think About Composition Before You Press the Shutter
Composition is how you arrange elements within the frame, and developing a feel for it is one of the fastest ways to improve your travel photography. A few principles that consistently work:
- The rule of thirds: Imagine your frame divided into a three-by-three grid. Place your main subject or the horizon along one of those lines rather than dead center. It creates a more dynamic, natural-feeling image.
- Leading lines: Roads, rivers, staircases, and alleyways naturally draw the eye through a photo. Position yourself so these lines lead toward your subject or into the depth of the scene.
- Foreground interest: Including something in the foreground — a flower, a railing, a person’s shoulder — adds depth and makes the viewer feel like they’re standing inside the scene rather than looking at a flat image.
- Negative space: Sometimes what you leave out matters as much as what you include. A lone figure against a vast sky or an empty road stretching into the distance can be extraordinarily powerful.
You don’t need to follow these rules rigidly. But knowing them means you can break them intentionally, which is a completely different thing from breaking them by accident.
5. Embrace Imperfection and Authenticity
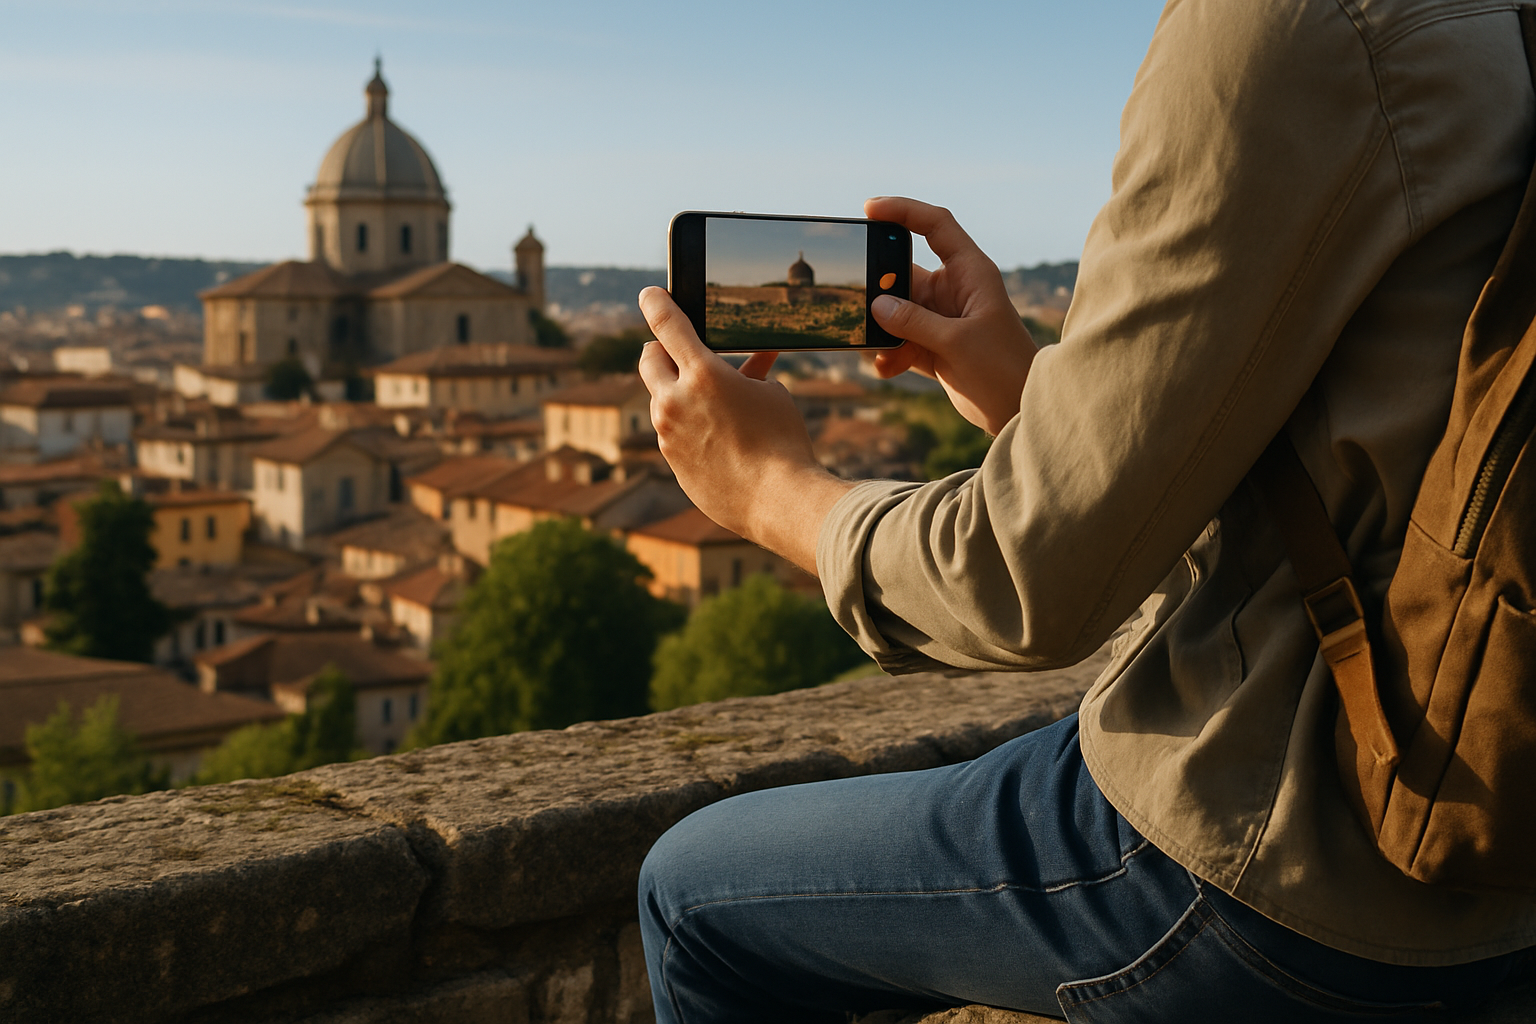
There’s a particular kind of travel photo that looks polished but feels hollow — the perfectly staged shot in front of a famous landmark, the forced smile, the outfit chosen to match the wall. There’s nothing wrong with those images, but they rarely tell you anything about what it actually felt like to be somewhere.
Some of the most compelling travel photographs are slightly messy. A blurred background that suggests movement. A candid laugh that’s slightly out of focus. A market scene where someone has walked into the frame at exactly the right moment. Authenticity is magnetic, and viewers can feel the difference between a moment that was lived and one that was manufactured.
This doesn’t mean abandoning craft. It means prioritizing the truth of a moment over its visual tidiness. Let the experience lead, and let the camera follow.
6. Vary Your Perspective Deliberately
Most people photograph the world from standing height, looking straight ahead. Which means most travel photos look roughly the same. One of the simplest travel photography tips that immediately distinguishes your work is to change where you’re standing and where you’re pointing the camera.
Get low. Shooting from knee height or even ground level transforms familiar scenes — a busy street market becomes a forest of legs and baskets; a child playing becomes a view from their world, not yours. Go high when you can. A rooftop, a staircase, a hill — elevation reveals patterns and context that are invisible from street level.
Shoot through things: archways, windows, gaps in fences, overhanging branches. These natural frames add depth and context, and they often tell you something about the place that a straight-on shot wouldn’t.
7. Edit with Intention, Not Excess
Editing is part of the photographic process, not a way to fix bad photos. The goal isn’t to make every image look like it was filtered through the same preset — it’s to bring out what was already there when you pressed the shutter.
On a phone, apps like Lightroom Mobile give you precise control over exposure, color temperature, shadows, and highlights. On a desktop, the same principles apply. A few targeted adjustments — lifting shadows to reveal detail, pulling back highlights that have blown out, nudging the white balance warmer or cooler to match the mood of the scene — can make a significant difference without making the image look artificial.
Resist the urge to over-saturate. Vivid colors are appealing in a thumbnail but exhausting to look at for long. Aim for images that feel true to what you saw, not a hyper-real version of it. The most durable travel photos tend to have a subtlety to them that keeps you looking.
Photographing People: Respect First, Camera Second
Travel photography that involves people — which is some of the most powerful kind — comes with real responsibilities. Pointing a camera at someone without acknowledgment is jarring at best and disrespectful at worst, particularly in communities where tourists with cameras are a constant presence.
The simplest approach is also the most effective: make a human connection before you make a photo. Learn a few words in the local language. Smile. Gesture to your camera and wait for a response. Many people will be happy to be photographed; some won’t, and that decision deserves complete respect. If someone declines, put the camera away and move on.
When you do photograph people with permission, show them the result. It’s a small gesture that often opens up a genuine exchange — and sometimes leads to better photos than the one you originally had in mind.
Traveling on a Budget? Your Photography Doesn’t Have to Suffer
Good travel photography doesn’t require expensive equipment or endless free time. Some of the most interesting images come from constraints — a single lens, a short layover, a neighborhood you stumbled into by accident.
If you’re working with a limited budget, focus your investment on learning rather than gear. Free resources are genuinely excellent. Sites like Shotkit’s travel photography hub offer extensive guides covering everything from camera settings to composition, and they’re written for real photographers at every level.
Renting a lens for a specific trip rather than buying one is another smart approach. You get access to better optics for the duration of your journey without the long-term cost. Many camera shops in major cities offer daily or weekly rentals, and the quality difference can be meaningful for landscapes or low-light situations.
Beyond gear, the best investment you can make is time. Slow down. Walk streets twice — once to observe, once to photograph. Return to places at different times of day. Talk to locals about where they go. The images that come from genuine curiosity and unhurried attention are almost always more interesting than the ones grabbed in passing.
Building a Visual Diary That Actually Means Something
The real purpose of travel photography isn’t to produce content or collect likes. It’s to preserve the texture of an experience — the light, the feeling, the small details that your memory will eventually blur. A good travel photo is a time machine. Years from now, you want to look at an image and feel the heat, hear the noise, remember exactly what it felt like to be standing in that moment.
That’s only possible if you’re genuinely present when you take it. The best travel photography tips in the world won’t help if you spend the whole trip looking at the world through a screen. Put the camera down sometimes. Let yourself be somewhere without documenting it. Then, when you do pick it up, you’ll be photographing from a place of real experience rather than anxious documentation.
Your journey deserves to be remembered well. With a little intention, the right techniques, and a willingness to slow down and look carefully, you’ll come home with images that don’t just show where you went — they show what it was actually like to be there.
This article was produced with AI assistance and reviewed editorially.


City Guides for Young Travelers: Buenos Aires, Quito, and Trujillo (Culture, Food & Adventure)

Where to Stay in Southern Africa: Botswana, Namibia & Madagascar for First-Time Visitors


